Control Layers for a Remodel
Learn the details for air-sealing and moisture control on this ranch house remodel and addition.
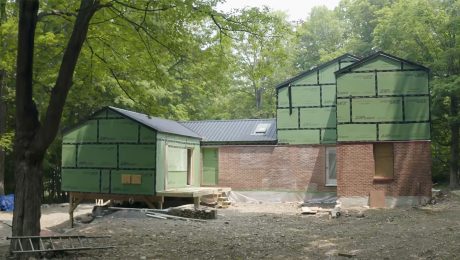
Connecting a new addition to an existing house creates challenges for air-sealing and moisture control, especially when the existing home is clad in brick. In this episode of FHB House New York, builder-homeowner Jon Beer explains his approach for tackling the four control layers on this whole house remodel.
Here’s the transcript:
I’m Jon Beer fromJon Beer Contracting, and we’re here at the Fine Homebuilding House in Cornwall, New York. Our goal here is generally to have a pretty tight house. We’re shooting for less than one ACH with ourblower-door test. I will run through our decisions on differentcontrol layers.
Thermal- and vapor-control layer
When it comes to dealing with thermal, we have a couple of different considerations. The old part of the house is 2×4 framing, so we’re limited in depth to meet energy code. The wall assembly is also 2×4. It’s got a fiberboard sheathing, a 1-inch air gap, and then a veneer brick on the exterior.
We have no way to access that fiberboard sheathing, so it was important for us to decide what our thermal product was going to be, which is闭孔泡沫喷雾, to meet energy code. In the old sections, we’re hitting two birds with one stone, thermal and vapor, in that one closed-cell layer.
Water-control layer
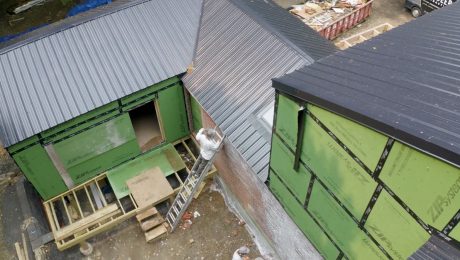
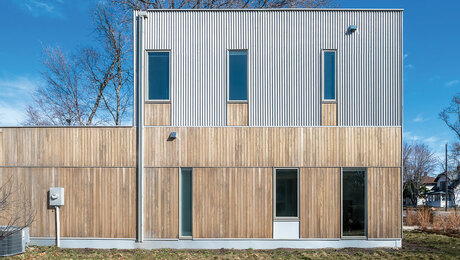
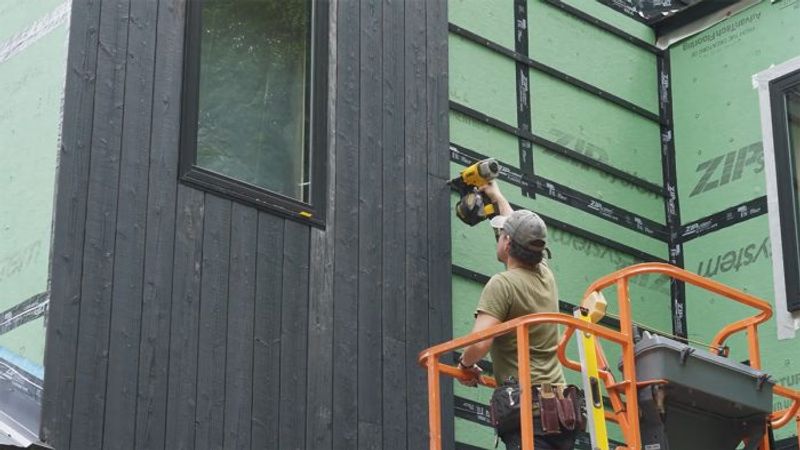
On the new second story and addition, we have a 2×6 wall assembly. We haveZIP System sheathingon the outside, so our water barrier is there at the ZIP. We have arainscreen assemblyto help with that, and we are using open-cell spray foam in those because we have the cavity depth to use that material. Thisalso lets us spend a little bit less money than using closed-cell everywhere. In that assembly the vapor barrier is on the outside of the sheathing.
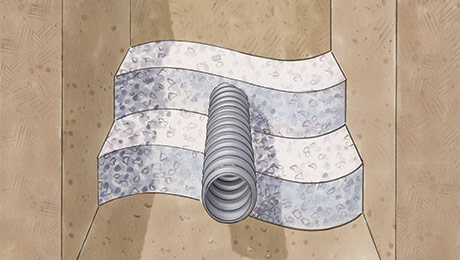
On the newer structure, we’re dealing with bulk water on metal roof by using peel-and-stick underlayment meant to go underneath metal. The cladding, which is a 7×16 shiplap cypress made byNakamoto, will sit on aCor-A-Ventrainscreen, which allows us to maintain a drainage channel all the way down the outside assembly, including the areas where we transition from sheathing to brick.
There’s a point where the veneer brick ends, and that’s where the old original soffit used to begin, and that veneer brick is flushed to the face of the new sheathing. There was about a foot of space above the veneer brick below the new second-floor structure where we had a rectangular void almost all the way around the house. From a water-shedding detail, that was an important area to really spend a lot of time on and design the right solution so that any water coming down the face of the ZIP doesn’t go behind the veneer brick and enter our original wall assembly.
UsingSketchUpagain, I created a model for that assembly. It’s basically a small, framed wall with a piece of side-bend aluminum drip edge that comes down the brick. It’s taped to the existing fiberboard sheathing, comes down and goes over the brick, and drops down with a hem on the bottom. We made our new rectangular blocks on the ground. We taped the underside of them beforehand because we wouldn’t be able to get underneath there. And then we applied them directly to the building and ZIP-taped the seam where the sheathing connected on the wall.
At the end of the day, when it comes to dealing with bulk water, gravity is the primary director of how water moves.When it comes to designing a system that deals with shedding bulk water, the thing we always go back to is the principle of shingle-style layering, where you start at the bottom and layer your materials so that the water always has a path to find its way out assisted by gravity. Our framing obeys those same principles. We’re trying to create opportunities for any water that could be trapped for a variety of reasons, whether it’s driving rain, snow melt, ice that’s melting or expanding and contracting, or a hotspot on the interior that’s causing ice melt. We want that water to find its way out.
All of our decisions about this particular block that we built to bridge the old and the new—siding assemblies, overhangs—they’re all about the principle that water needs to be able to find its way out and not get stuck anywhere.
Air-sealing control layer
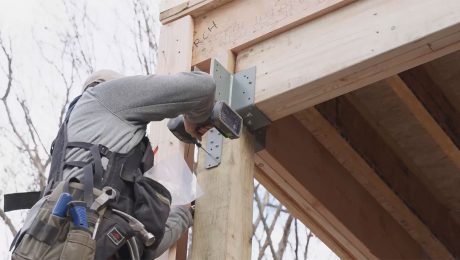
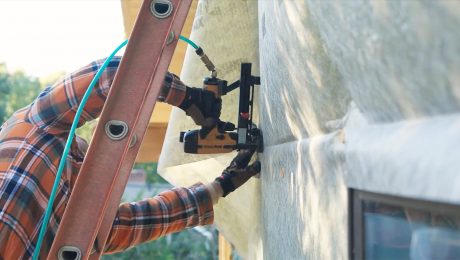
Air is our last control layer and we’re primarily dealing with that from the inside, though we have some details at penetrations. Pre-insulation, through the entire house, we’re going to go through and do a rigorous air-seal with canned spray foam, hitting the bottom plates, the top plates, any roof-to-wall sheathing and framing connections.
While I trust my spray-foam sub, I want to have a belt-and-suspenders approach before he comes in. We’re going to go through and hit all of those areas, any hard-to-reach spots, any things that are currently or will be covered by ductwork.
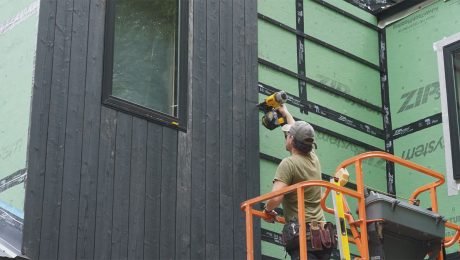
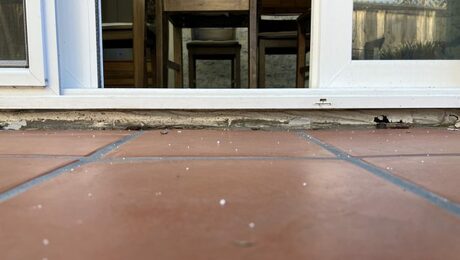
窗户开口的第二个故事我们强g SIGA products to create an air-sealing buffer, basically in the width of each window. We’re taping from the outside, leaving the bottom flange open, and then we’re using their IS tape on the interior to totally air-seal the window assembly to the framing.
On the first story, for existing openings that stretch between structural 2×4 and veneer brick, we are air-sealing with a SIGA tape and then using a combination of SIGA tapes andLoctite Tite Foamto seal those openings. I think the priority for us is definitely on air-sealing, and that’s where the bulk of our work will lie. For the rest of our control layers we’re relying a lot on our building materials, but also a quality installation of them to make sure our house is well protected from the elements.
RELATED STORIES